Hinged Frame Modular Connector For Industrial Robots 6B Gas needle 09140060303 HF6B-NUA3
- Part:
- SO-HF6B-NUA3
- Order No.:
- 09140060303
- Packaging Details:
- Standard Export Cartons
- Delivery Time:
- Within 7 Days
- Payment Terms:
- L/C, T/T, Western Union, Paypal
- Supply Ability:
- 100000 pcs per month


Description

Specification
Hinged Frame Modular Connector For Industrial Robots 6B Gas needle
SMICO Modular Hinged Frame HM Connectors enable the integration of Modular components into HM connectors and are designed to handle more than 10,000 mating cycles. The Hinged Frame HM sets itself apart from conventional hinged frames through its PE contact. The contact is specially plated and boasts increased fixation stability in the connector frame. Because the Han HM housing is executed with IP65 protection, the SMICO Modular Hinged Frame HM series provides additional application fields for Han-Modular. Not only can Modular connectors be plugged and unplugged many thousand times, but the modules in HM housings are also well-protected against mechanical loads, contact and dust accumulation, and water spray.
- Enable the integration of Han-Modular components into Han HMC connectors
- Protection against mechanical loads, contact and dust accumulation, and water spray
- Specially plated contact offers increased fixation stability in the connector frame
- >10,000 mating cycles
| Number of modules | 2 |
| PE contact(Wire gauge) | |
| -Power side | 4-10mm2 |
| AWG12-8 | |
| -Signal side | 1-2.5mm2 |
| 18-14 | |
| Material | zinc die-cast |
| Limiting temperatures | -40℃...+125℃ |
| Mechanical working life(mating cycles) | ≥500 |
The module heavy-duty connector is one of the SMICO heavy-duty connectors. Many customers do not guide how to install the module heavy-duty connector. Let's take a look at the correct installation method.
Materials needed: frame, module
Step 1: Loosen the screws on the left and right sides of the metal frame
Step 2: After the screws are loosened, the metal frame can be opened so that the module can be put in
Step 3: Put the module into the frame so that the protrusions on both sides of the module are put into the holes on both sides of the metal frame
Step 4: After placing the required modules, re-tighten the screws
The heavy-duty connector of the module is installed. If there is a shell outside, then put the whole frame into the shell and fix it.
Advantage
SMICO heavy duty connector
-
Compatible with other brands
-
accept OEM /ODM
-
accept customized colour : like blue ,black
-
The popular parts in stock , delivery time fast
-
Export Packing : Packing for each items respectively or packing for full one set
-
Without MOQ except the customized type
Location
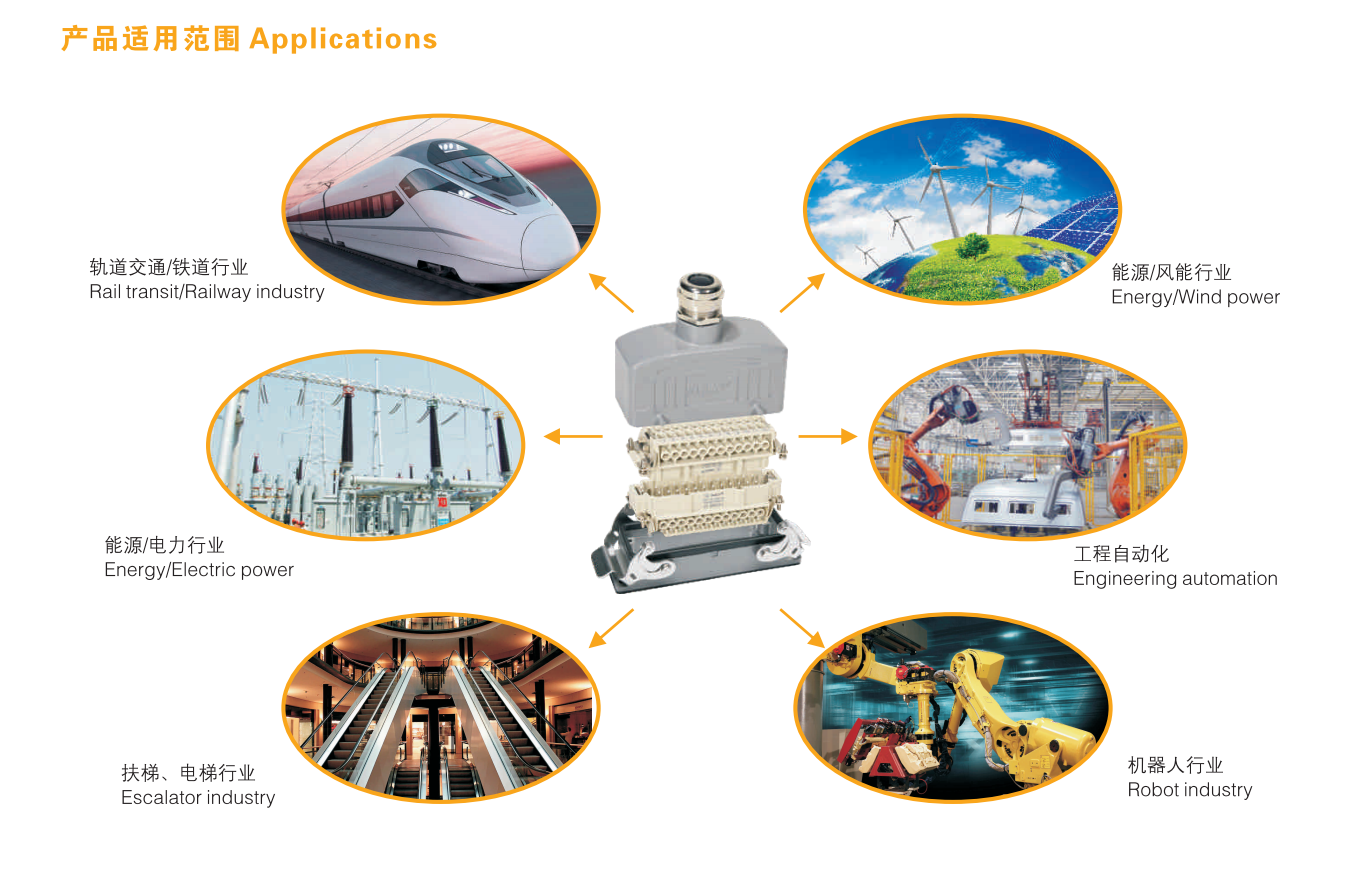
SMICO Heavy duty connectors Applications :
- Machinery
- Automation
- Robotics
- Rail
- Energy Distribution
- Renewable Energy
- Construction Machinery
- Professional Light and Sound
Packaging

Videos
Downloads
| Hinged Frame Modular Connector For Industrial Robots 6B Gas needle 09140060303 HF6B-NUA3 | Download |
FAQs
01.How many employees are there in your factory?
We have more than 130 employees, including the entire production chain.
02.Whether to provide technical documents?
Sure. If there is anything unclear about the product, we will provide you with as detailed technical documents as possible.
03.Does this insert can fit with my frame?
Our module insert can fit with Harting,ILME,Weidmuller,TE and other brand.
04.How to order?
Please email us your purchase order and we will send you a quotation and a proforma invoice.


